Time for some creative tinkering! Segoe is the name of the font that Microsoft uses as default in Windows 10, but with a simply registry edit, you can change it.
Giving your operating system a completely new look and feel, according to your tastes.
To fix various Windows 10/11 problems, we recommend Outbyte PC Repair:
This software will repair common computer errors, protect you from file loss, malware damage, hardware failure, and optimise your computer for peak performance. In three simple steps, you can resolve PC issues and remove virus damage:
- Download Outbyte PC Repair Software
- Click Start Scan to detect Windows 10/11 issues that may be causing PC issues.
- Click Repair All to fix issues with your computer's security and performance.
This month, Outbyte has been downloaded by 23,167 readers.
Before we get down to business, though, you will back up your registry settings so that you can reverse the changes in case you do not like the new font. Once that is done, you can update the registry with a simple .reg file.
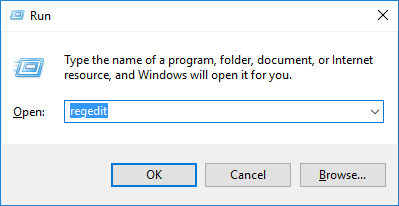
To get started, press Win + R to bring up the Run dialog box, type regedit and hit Enter to open the Registry Editor.
Now, go to File, then Export and save the complete registry someplace safe on your hard drive. The documents folder, or any other location that you will easily remember.

With that done, open Notepad and then copy and paste the following into it:
Windows Registry Editor Version 5.00
[HKEY_LOCAL_MACHINE\SOFTWARE\Microsoft\Windows NT\CurrentVersion\Fonts] “Segoe UI (TrueType)”=””
“Segoe UI (TrueType)”=””
“Segoe UI Black (TrueType)”=””
“Segoe UI Black Italic (TrueType)”=””
“Segoe UI Bold (TrueType)”=””
“Segoe UI Bold Italic (TrueType)”=””
“Segoe UI Historic (TrueType)”=””
“Segoe UI Italic (TrueType)”=””
“Segoe UI Light (TrueType)”=””
“Segoe UI Light Italic (TrueType)”=””
“Segoe UI Semibold (TrueType)”=””
“Segoe UI Semibold Italic (TrueType)”=””
“Segoe UI Semilight (TrueType)”=””
“Segoe UI Semilight Italic (TrueType)”=”” [HKEY_LOCAL_MACHINE\SOFTWARE\Microsoft\Windows NT\CurrentVersion\FontSubstitutes] “Segoe UI”=”Verdana”
Replace Verdana in the last line with the name of the font that you want to use as your system default.
It is a good idea to search for and open your Fonts folder from the Windows taskbar to take a look at all the fonts you have installed, and get the full, correct name of the font.

With the edit done, click File > Save in Notepad, and change the Save as type to All Files in the dialog box.
You can now give the file with the text above any name, with the .reg extension, and save it.
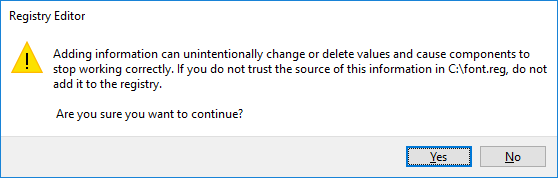
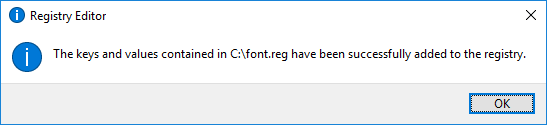
Finally, double-click the registry file you have just created to run it. A prompt will ask you to allow the file to make changes to your computer and confirm whether you want to continue. A confirmation that the changes were successfully made will then be provided.
Restart your computer to see the font changes applied across Windows 10.
The fonts for the icons, menus, title bars, dialog boxes, File Explorer and more will now be changed to whatever you choose in the registry file.
Just don’t change the default font to one of those wingdings, at the risk of rendering your system completely unreadable, and you will be fine. If you want to change things back to the default font, simply import your backed-up registry in the Registry Editor to revert.

Well, this was quite simple to do. Thanks for sharing this!